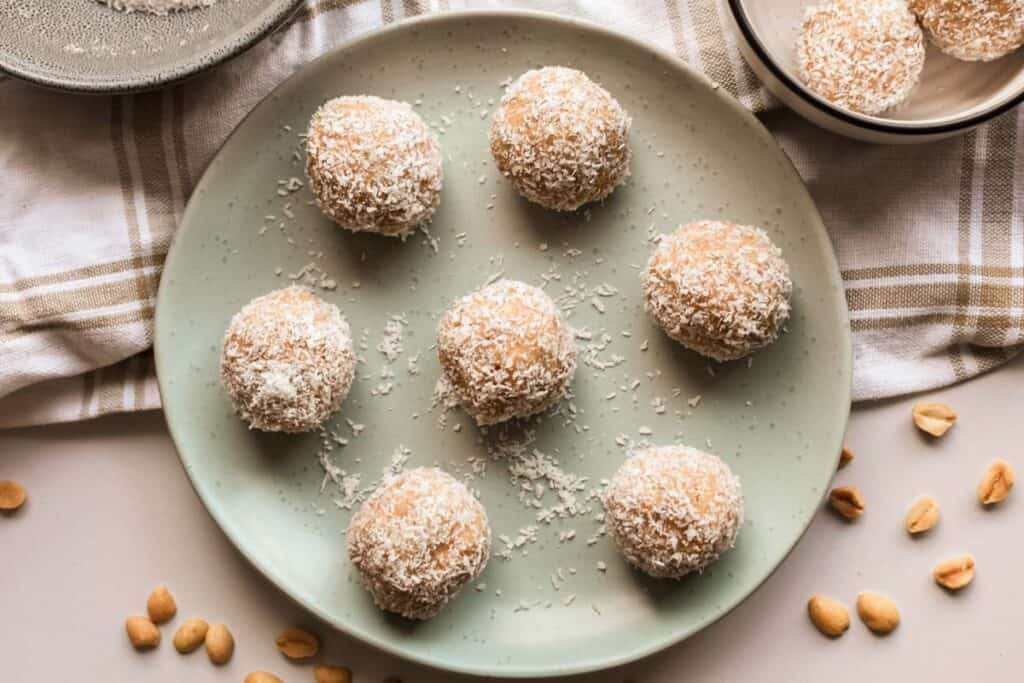
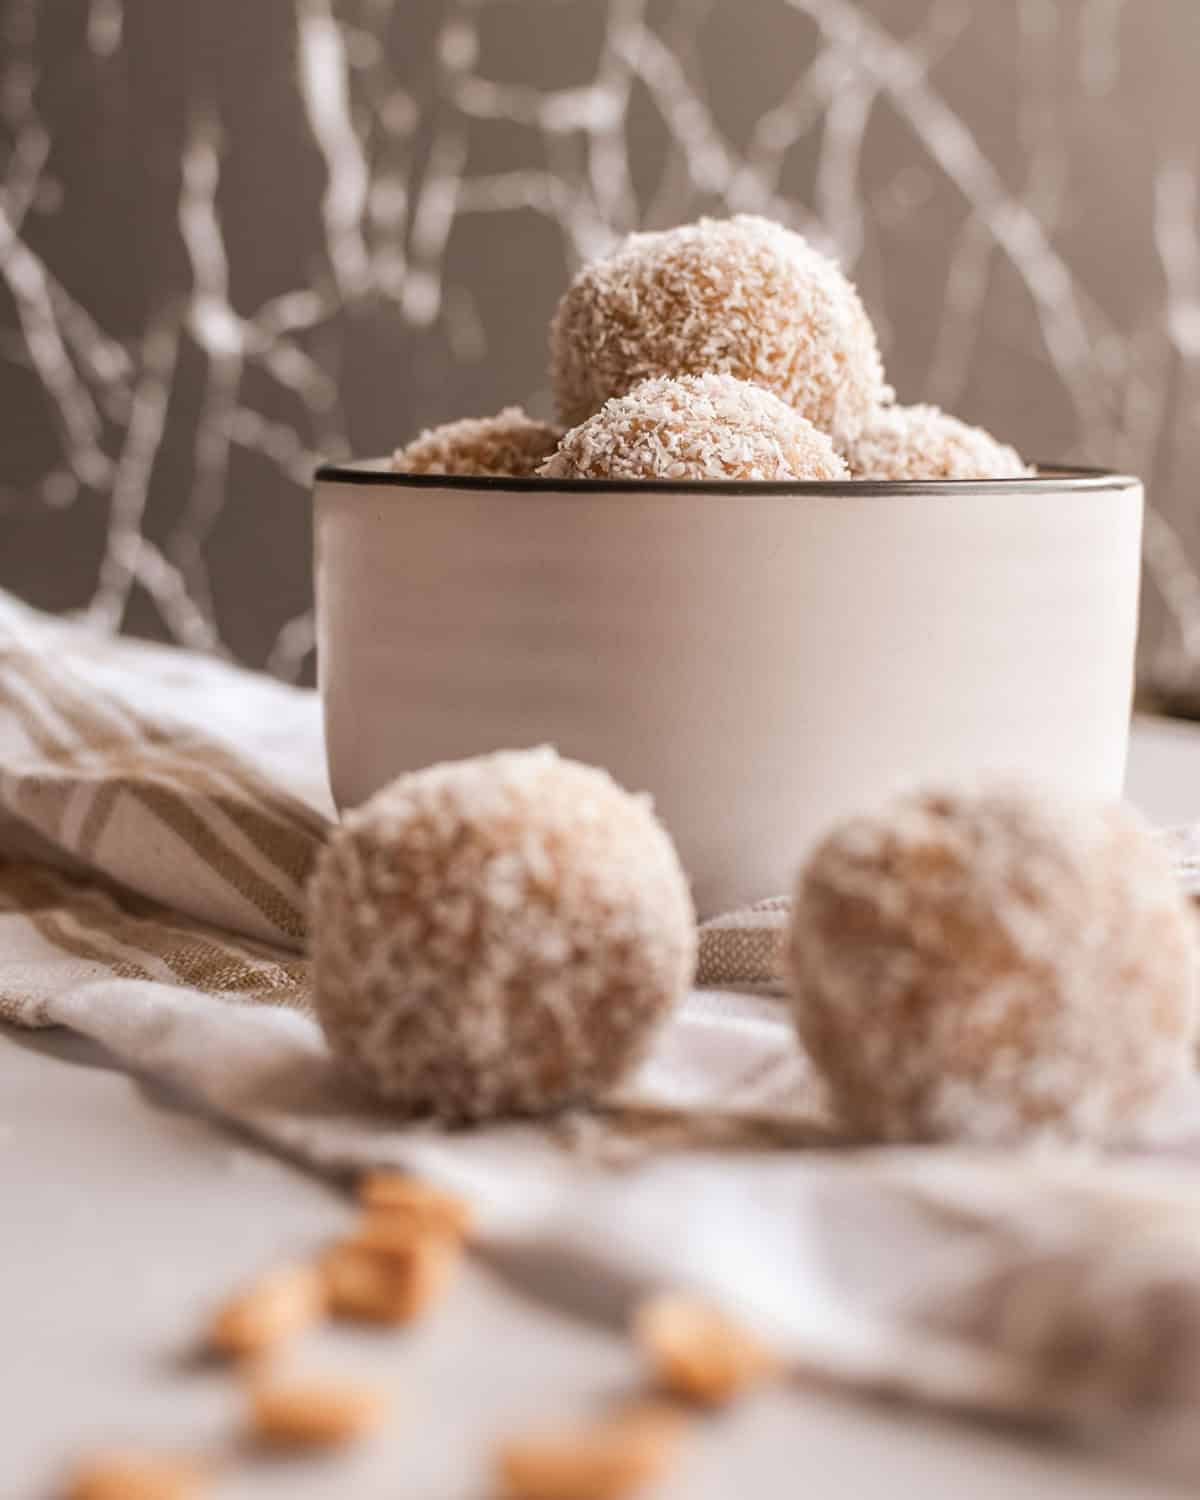
Peanut Butter Bliss Balls
Peanut Butter Bliss Balls are the kind of snack I don’t have to feel guilty about eating three of in one sitting. The peanut butter and almond flour combo keeps you full, and that light coconut coating makes them look fancy. They’re naturally sweet, soft, chewy, and come together in just a few minutes without turning on the oven.
This post contains affiliate links. As an Amazon Affiliate, if you purchase through those links, I earn a commission. Thank you!
I make them for meal prep Sundays, post-workout snacks, lunchbox treats, and potlucks because they’re filling and naturally sweet without refined sugar. They’re perfect for on-the-go since they don’t need refrigeration right away. A batch lasts in the fridge for about a week or in the freezer for up to 2 months.
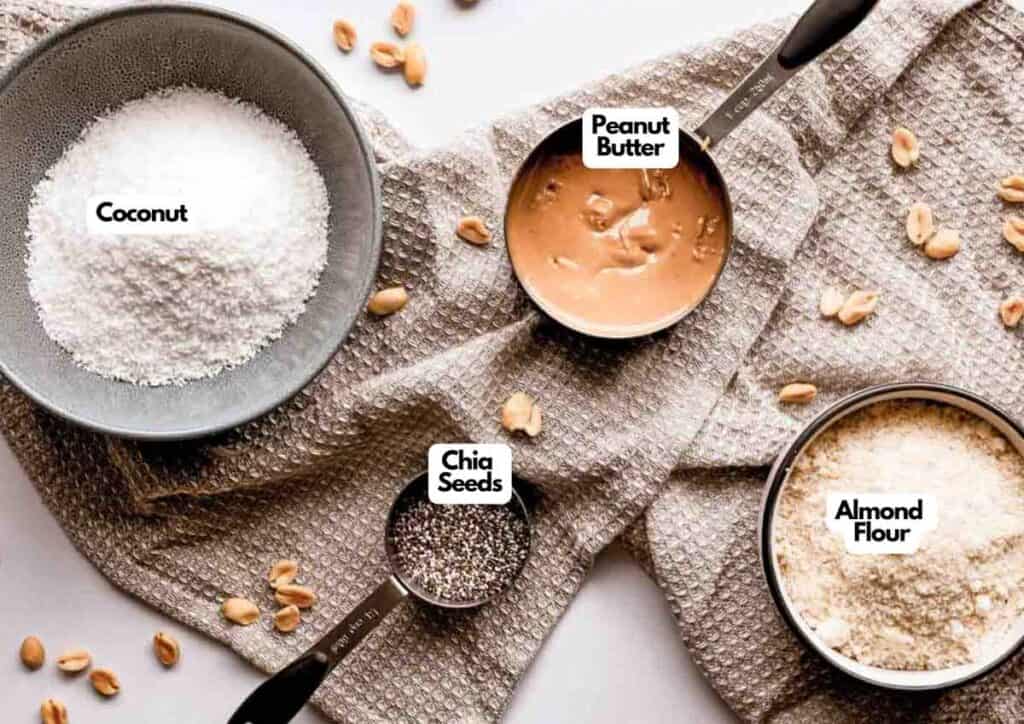
Ingredients You’ll Need
You’ll need all the ingredients shown in the photograph below.
How to Make Peanut Butter Bliss Balls with Step-By-Step Instructions
Scroll down for the full recipe card containing a full printable recipe and measurements in both US customary and metric units.
Here’s how to make these no-bake treats in just a few minutes.
Mix the Wet Ingredients
Place the creamy peanut butter and sugar-free maple syrup in a large bowl and mix them together until smooth. The mixture will look wet and loose at this stage.
If you have a peanut allergy, swap peanut butter for natural peanut butter, almond butter, or sunflower seed butter; both work perfectly and keep these nutrient-dense snacks allergy-friendly. You can also try different nut butters, such as cashew or almond, for variety.
Add the Dry Ingredients
Add the almond flour, flaxseed meal (or activated chia seeds if you’re using those instead), and shredded coconut to the bowl. Stir everything together until it forms a thick, sticky dough. A spurtle works well for mixing because its flat edge scrapes the bowl clean and incorporates the remaining ingredients evenly.
For a chocolate version, add 2 tablespoons of cocoa powder here, or fold in 2 tablespoons of mini chocolate chips for little pockets of sweetness throughout. If you prefer an oat-based version, you can swap the almond flour for old-fashioned oats or rolled oats.
Just pulse them in a food processor like this one first to make oat flour, or use quick oats for a chunkier texture.
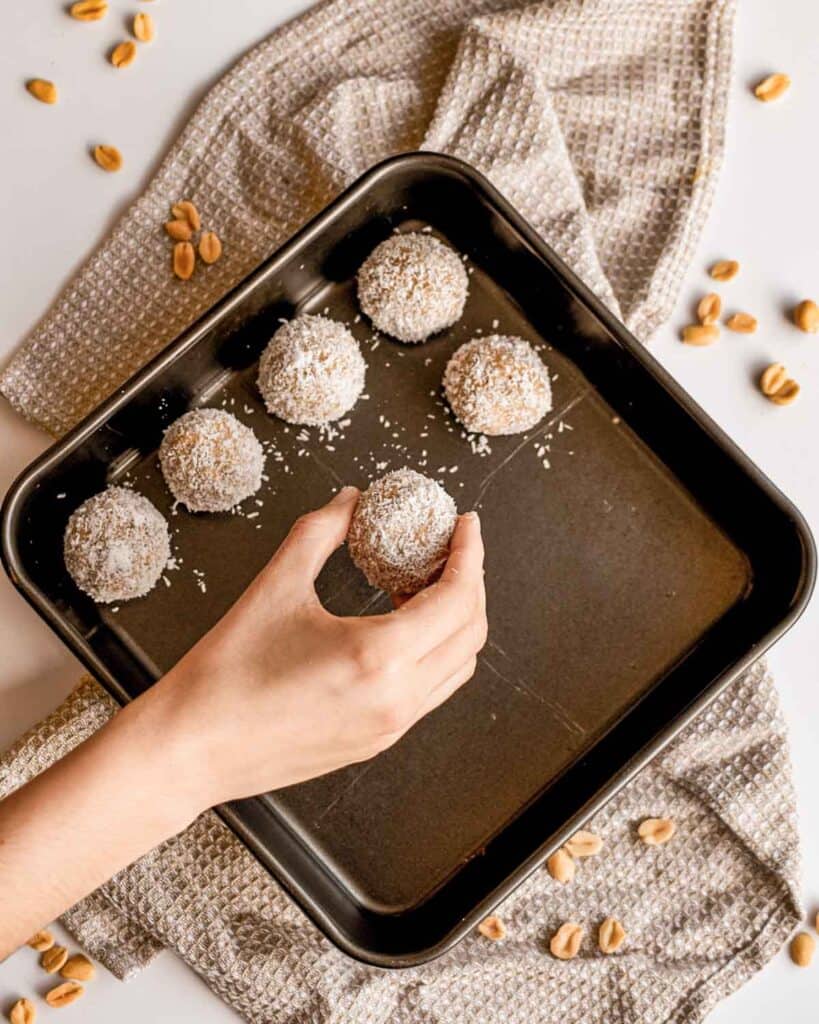
Roll Into Balls
Use your hands to scoop up the mixture and roll it into 12 evenly sized balls. If the mixture sticks to your hands, lightly dampen your palms with water. I like to use a cookie scoop to portion them out first, so they’re all the same size, then roll each portion between my palms.
These peanut butter protein balls hold together beautifully thanks to the natural oils and healthy fats in the peanut butter. For a naturally sweetened version without maple syrup, try using pureed dates or medjool dates blended with a splash of water instead; they add natural sweetness without added sugar or refined sugar.
Coat in Coconut
Pour extra desiccated coconut into a shallow bowl or plate. Roll each ball in the coconut until it’s lightly but evenly coated on all sides.
The coating will adhere naturally to the peanut butter mixture without any binding agent. You can also roll them in sunflower seeds, dried cranberries, or dried raspberries for a different texture and flavor.
Chill and Serve
You can eat them right away if you want, but I always pop them into the refrigerator for at least 30 minutes so they firm up. Store them in a container so they don’t pick up fridge odors, and they’ll stay fresh for about a week.
Line the container with parchment paper between layers if you’re stacking them to prevent sticking. Enjoy!
If you’re taking them to a potluck or packing them for lunch, a bento lunch box keeps them secure and prevents them from rolling around during transport.
Equipment
Ingredients
- 1/2 cup peanut butter
- 1/4 cup sugar free maple syrup
- 1 cup almond flour
- 1/4 cup flaxseed meal or activated chia seeds
- 1/2 cup desiccated coconut + extra for coating
Instructions
- Place the peanut butter and maple syrup in a medium bowl and mix well.
- Add the almond flour, flaxseed meal (or chia seeds) and coconut. Mix well.
- Use your hands to roll the mixture into 12 balls.
- Roll each ball in the coconut until lightly but evenly coated.
- You can eat the balls immediately, but I like to pop them into the refrigerator to set – for at least 30 minutes before digging in.
Notes
- Use natural peanut butter: The kind that’s just peanuts and maybe salt works best because it has the right consistency. If you use the sweetened kind with added oils, the mixture might turn out too wet.
- Chill your hands: If the mixture feels too sticky when you’re rolling, run your hands under cold water and shake them dry before rolling each ball. The slight dampness helps prevent sticking without making the mixture wet.
- Roll tightly: Press and squeeze each ball firmly as you roll it so the mixture compacts and holds together well. Loosely rolled balls can crumble when you bite into them.
- Don’t skip the chill time: They taste fine at room temperature, but chilling them for at least 30 minutes makes the texture so much better. They firm up and become easier to handle, and the flavors meld together.
- Flash-freeze for storage: Freeze them on a baking sheet for 1 hour, then transfer them to a container so they don’t stick together. You can grab one at a time without the whole batch clumping up.
- Swap the seeds: Flaxseed meal and chia seeds can be used interchangeably in the recipe, so use whichever you have on hand. Both add fiber and help bind the mixture together.
Nutrition
How to Store Leftovers
Keep them in an airtight container in the fridge for up to a week, and they’ll stay soft and fresh the whole time. I use a glass airtight container because it seals tightly and doesn’t absorb any smells.
For longer storage, freeze them in a single layer on a baking sheet lined with parchment paper for an hour, then transfer to a freezer-safe container for up to 2 months. When you’re ready to eat one, just pull it straight from the freezer and let it sit at room temp for 5 minutes, or eat it frozen for a firmer texture.
Kids love grabbing these straight from the fridge as an after-school snack, and I often make a big batch on Sundays so we have them all week.
What to Serve With Peanut Butter Bliss Balls
I usually eat them on their own as a snack between meals or after a workout. They’re filling enough to hold you over until your next meal without feeling too heavy. If you want to make them part of a bigger spread, they pair well with fresh fruit like apple slices or berries, or enjoy them alongside a smoothie for an easy, balanced breakfast.
They also work great on a snack platter with nuts, dried fruit, and dark chocolate squares for when you’re entertaining.
More Easy Recipes for You to Try at Home
If you loved these bliss balls, you’ll want to try my other grab-and-go snacks.