Dairy Free Ice Cream
If you want a non-dairy ice cream that has the creaminess of a classic, this Dairy Free Ice Cream has your back. It’s coconut-based, so you still get a rich texture, even without eggs, custard, or any dairy milk, and the maple syrup keeps it naturally sweet. Whether you’re skipping dairy by choice or necessity, this vegan ice cream recipe lets you enjoy a cold dessert without worries.

This post contains affiliate links. As an Amazon Affiliate, if you purchase through those links, I earn a commission. Thank you!
This ice cream is the kind of thing you can prep the day before, stash in the freezer, and pull out when the moment’s right. Whether you’re serving it up after dinner or scooping it during a game night, it fits in just like your favorite pints from Ben & Jerry’s or Van Leeuwen. And unlike hunting down specialty flavors in grocery stores, you’ve already got everything you need to whip it up at home.
Ingredients You’ll Need
You’ll need all the ingredients shown in the photograph below.

How to Make Dairy Free Ice Cream with Step-By-Step Instructions
Scroll down for the full recipe card containing a full printable recipe and measurements in both US customary and metric units.
You won’t need much to make this work—just follow my simple steps and you’ll have a batch of creamy, dairy-free ice cream ready to go.
Freeze the Ice Cream Maker Bowl
Start by freezing the bowl of your ice cream maker; this is the one I’ve been using. It’s compact, easy to clean, and gets the job done without a fuss.. Most models need at least 24 hours in the freezer, so get that sorted the night before you plan to churn.
Blend the Ice Cream Base
Add the full-fat coconut milk, maple syrup, vanilla extract, and salt to a blender. Blend on high for about a minute, until the texture of the ice cream mixture is completely smooth and creamy.
Using a quality blender like this makes a huge difference here, I know it’s an investment, but boy, it’s worth it. Some blenders just don’t get the coconut milk smooth enough, and you’ll end up with little bits that freeze weird. I like this one because it blitzes everything until velvety and doesn’t splatter everywhere when I pour it out.


Churn the Ice Cream
Pour the mixture into your frozen-cold ice cream maker bowl and churn for about 20 minutes. It’ll thicken into a soft-serve consistency—that’s your cue to stop.
Freeze Until Firm
Spoon the churned mixture into a freezer-safe container and spread it out evenly. I like using these glass containers; they stack perfectly in the freezer. Just spread it flat, press a little parchment right on top to stop ice crystals, and pop the lid on.
Cover and freeze for 3 to 4 hours, or until it firms up enough to scoop.


Let It Soften Before Serving
Before you serve, let the ice cream sit on the counter for a few minutes so it softens up. That way, it’ll scoop cleanly and melt just right on your spoon. I always use this strong ice cream scoop now, and it makes scooping so easy and never bends!
If you’re serving for guests (or just want your Tuesday night to feel fancy), I love scooping it into these glass dessert cups. They’re super simple but look really elegant. And if the kids are around or we’re doing cones, I just set them in a cone holder so I’m not scrambling to balance everything.
Enjoy one of the best vegan vanilla ice creams ever!

Recipe Notes and Expert Tips
I’ve made this dairy-free ice cream so many times before—here are a few things that make a difference:
- Use Full-Fat Coconut Milk: This is the key to getting that rich, creamy texture. Light coconut milk won’t cut it.
- Chill Your Ingredients First: If your coconut milk is already cold, the base will churn faster and freeze more evenly.
- Blend It Long Enough: Give it a full minute in the blender to make sure everything is fully combined and smooth.
- Taste Before You Churn: If you want it sweeter, adjust the maple syrup before you pour it into the machine.
- Don’t Walk Away While It Churns: Keep an eye on the texture—it should look like soft-serve when it’s done.
- Use a Shallow Container: It helps the ice cream freeze more evenly and makes scooping easier.
- Cover It Well: Press some parchment or plastic wrap directly onto the surface to prevent ice crystals from forming.
- Let It Sit Before Scooping: Giving it a few minutes at room temperature will make it much easier to serve.

How to Store Leftovers
Once churned and frozen, store your ice cream in a freezer-safe, airtight container. For best texture, press a piece of parchment or plastic wrap directly onto the surface before sealing it with a lid. This helps keep ice crystals away and keeps your dairy-free vanilla ice cream smooth.
This ice cream will keep for up to 3 months in the freezer, though the texture might firm up slightly. Just let it rest at room temperature for 5 to 10 minutes before serving again. Yes, it freezes well.
What to Serve With Dairy Free Ice Cream
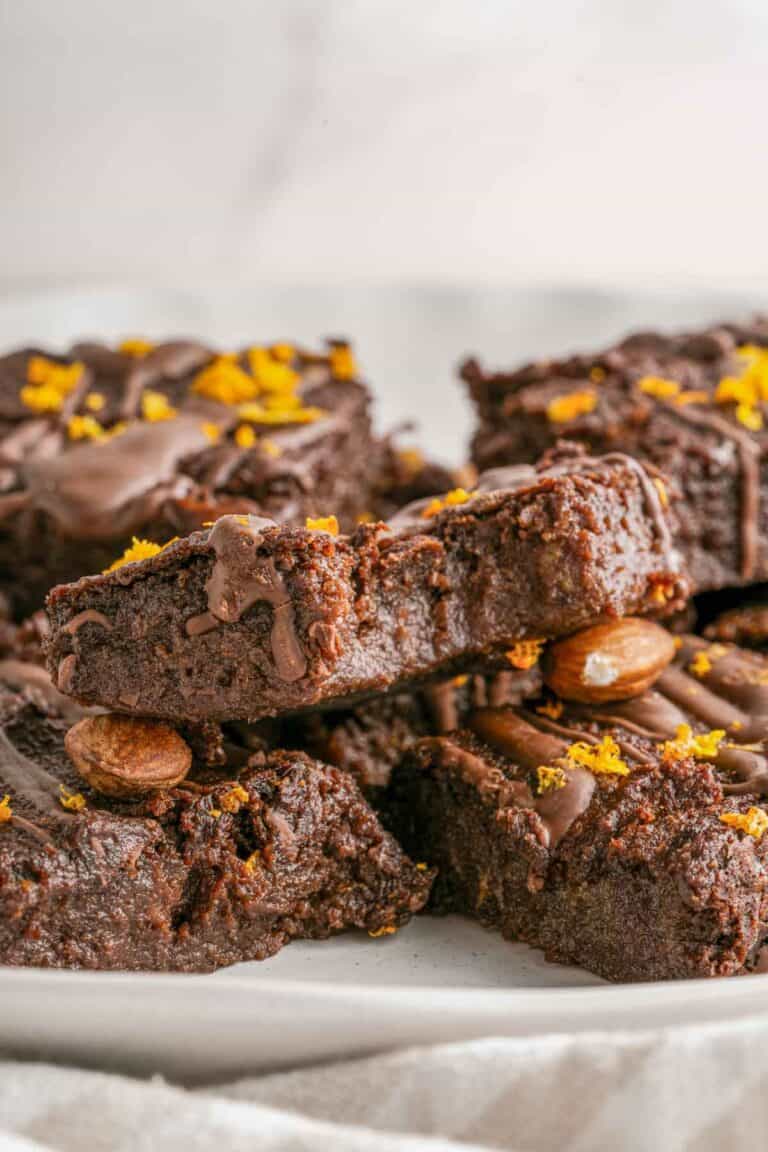
You can enjoy this ice cream as is, or top it with a handful of chocolate chips, almonds, or a drizzle of dairy-free hot fudge sauce for a quick upgrade. Or go even bigger and sandwich it between two soft chocolate cookies, or serve it up next to vegan cakes, lemon bars, or warm brownies.
You could also pair it with scoops of strawberry and deep dark chocolate ice cream—these classic ice cream flavors work especially well together. Swirl in some cherries and vegan fudge flakes if you’re going for Ben & Jerry’s Cherry Garcia ice cream vibe, or just want a bit of crunch and fruity bite.
Whether you’re building your own best dairy-free combo or keeping it simple, this dairy-free ice cream is versatile enough to go with just about anything.

More Easy Dessert Recipes for You to Try at Home
If you feel like you’re running out of options here, I’ve got plenty more dairy-free treats you’d want to keep in your rotation. Here are some of them:
- Banana Almond Milk Ice Cream
- Vegan Amaretti Cookies
- Vegan Baked Vanilla Donuts
- Vegan Chocolate Peanut Butter Cups
- Chocolate Orange Marble Bundt Cake

Equipment
Ingredients
- 2 cans (13.5-ounce) full-fat coconut milk
- ¾ cup maple syrup
- 1 tablespoon vanilla extract
- ⅛ teaspoon salt
Video
Instructions
- Be sure to freeze the bowl of your ice cream maker in advance, following the manufacturer’s instructions.
- In a blender, combine the coconut milk, maple syrup, vanilla, and salt. Blend on high for about 1 minute, until smooth and creamy.2 cans (13.5-ounce) full-fat coconut milk, ¾ cup maple syrup, 1 tablespoon vanilla extract, ⅛ teaspoon salt
- Pour the mixture into your ice cream maker and churn for about 20 minutes, or until it reaches a soft-serve texture.
- Transfer to a freezer-safe container and freeze for 3 to 4 hours for a scoopable consistency.
- Let it sit at room temperature for a few minutes before scooping. Enjoy!
Notes
- Use Full-Fat Coconut Milk: This is the key to getting that rich, creamy texture. Light coconut milk won’t cut it.
- Chill Your Ingredients First: If your coconut milk is already cold, the base will churn faster and freeze more evenly.
- Blend It Long Enough: Give it a full minute in the blender to make sure everything is fully combined and smooth.
- Taste Before You Churn: If you want it sweeter, adjust the maple syrup before you pour it into the machine.
- Don’t Walk Away While It Churns: Keep an eye on the texture—it should look like soft-serve when it’s done.
- Use a Shallow Container: It helps the ice cream freeze more evenly and makes scooping easier.
- Cover It Well: Press some parchment or plastic wrap directly onto the surface to prevent ice crystals from forming.
- Let It Sit Before Scooping: Giving it a few minutes at room temperature will make it much easier to serve.