Vegan Gluten-Free Crackers
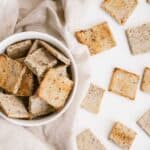
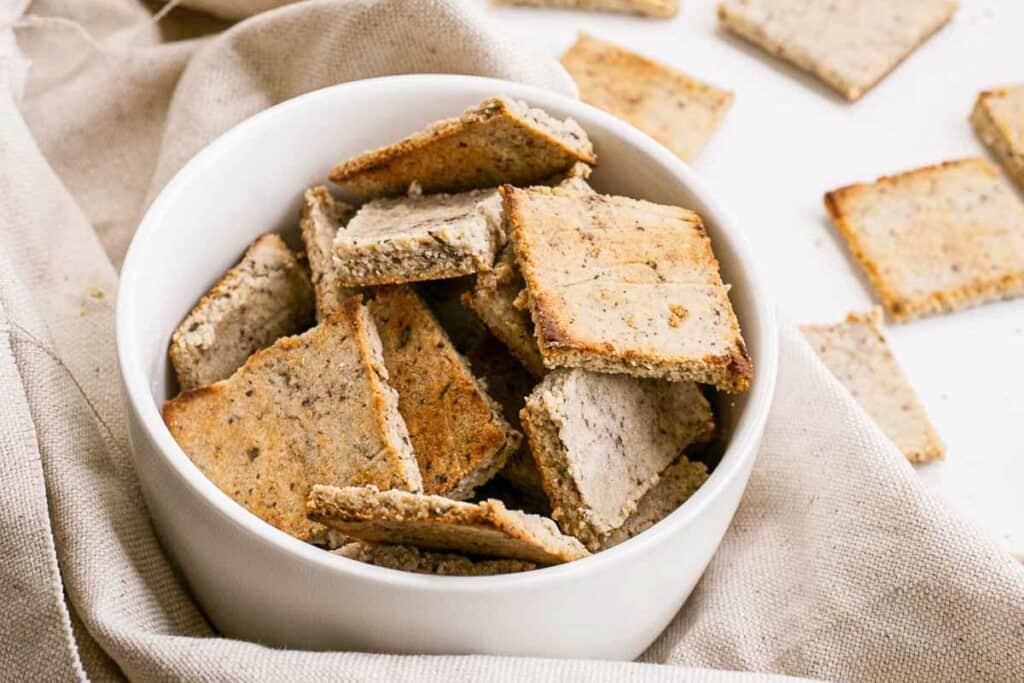
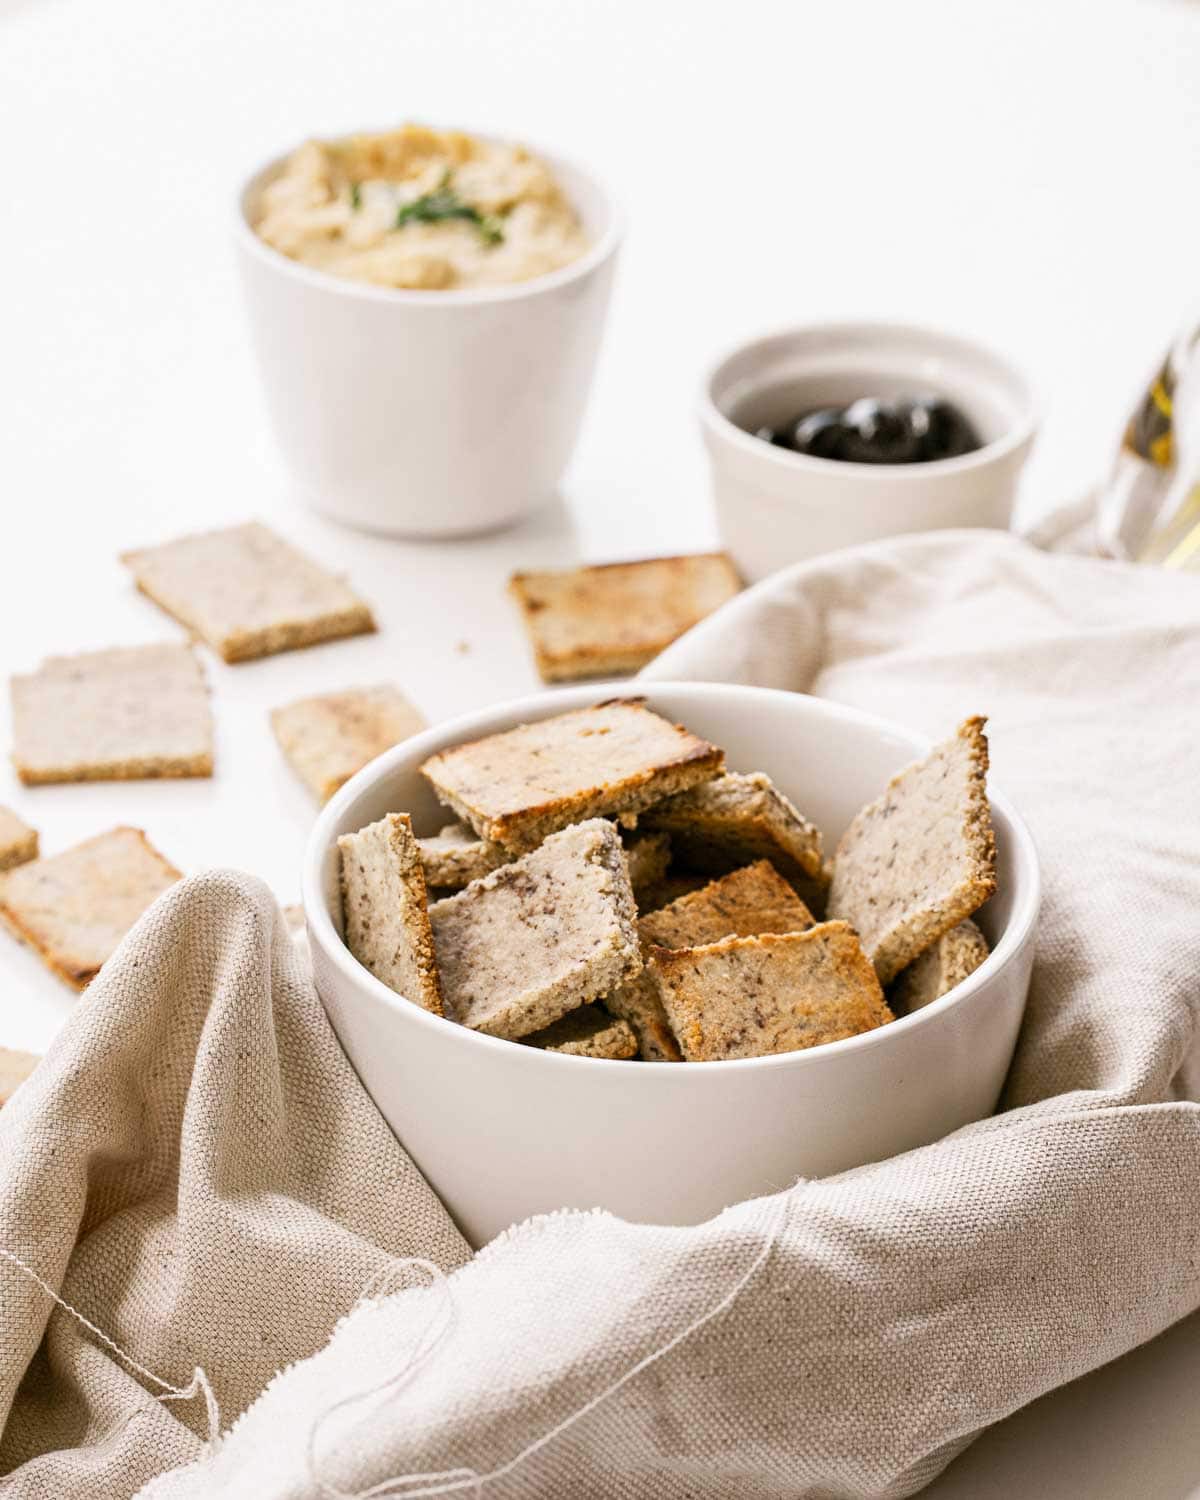
Homemade Vegan Gluten-Free Crackers turned out way better than any store-bought version I’ve ever tried. They’re perfectly crispy and light with savory garlic and oregano in every bite. The almond flour gives them a rich, nutty flavor that you just don’t get from boxed crackers. They’re crunchy, flavorful, and disappear fast from the snack bowl every time.
This post contains affiliate links. As an Amazon Affiliate, if you purchase through those links, I earn a commission. Thank you!
I make them for Sunday snack prep, cheese boards when hosting friends, and packing work bags or lunchboxes because they’re budget-friendly and incredibly easy. They’re perfect for grab-and-go snacking throughout the week and kid-friendly enough for picky eaters. Keep them in an airtight container at room temp for up to 5 days.
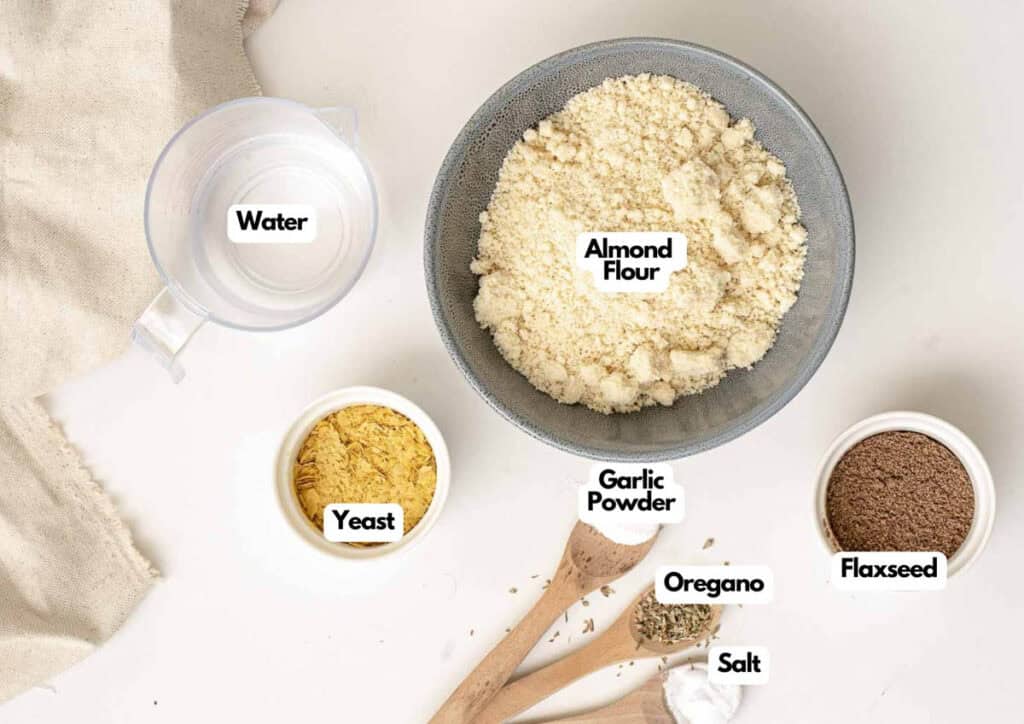
Ingredients You’ll Need
You’ll need all the ingredients shown in the photograph below.
How to Make Vegan Gluten-Free Crackers with Step-By-Step Instructions
Scroll down for the full recipe card containing a full printable recipe and measurements in both US customary and metric units.
Making your own gluten-free crackers is as simple as mixing the dough, rolling it flat, cutting it into shapes, and baking until golden.
Preheat the Oven and Prepare the Flax Egg
Set your oven to 375°F / 190 °C so it’s ready when you need it. I like using this oven thermometer to make sure my oven is at the right temperature, which is important for getting perfectly crispy crackers.
While it heats, make your flax egg by mixing together 1 tablespoon of flaxseed meal (also called flax meal) and 2 tablespoons of cold water in a small bowl. Let it sit for 5 minutes until it thickens and becomes gel-like, which helps bind the crackers without eggs.
Mix the Dough
Add the almond flour (also called almond meal), flax egg, garlic powder, dried oregano, 3 tablespoons of cold water, nutritional yeast, and salt to a large mixing bowl. A large glass mixing bowl with a non-slip base makes it easier to combine everything without the bowl sliding around.
Mix everything together well until an even cracker dough forms that holds together when pressed.
Roll Out the Dough
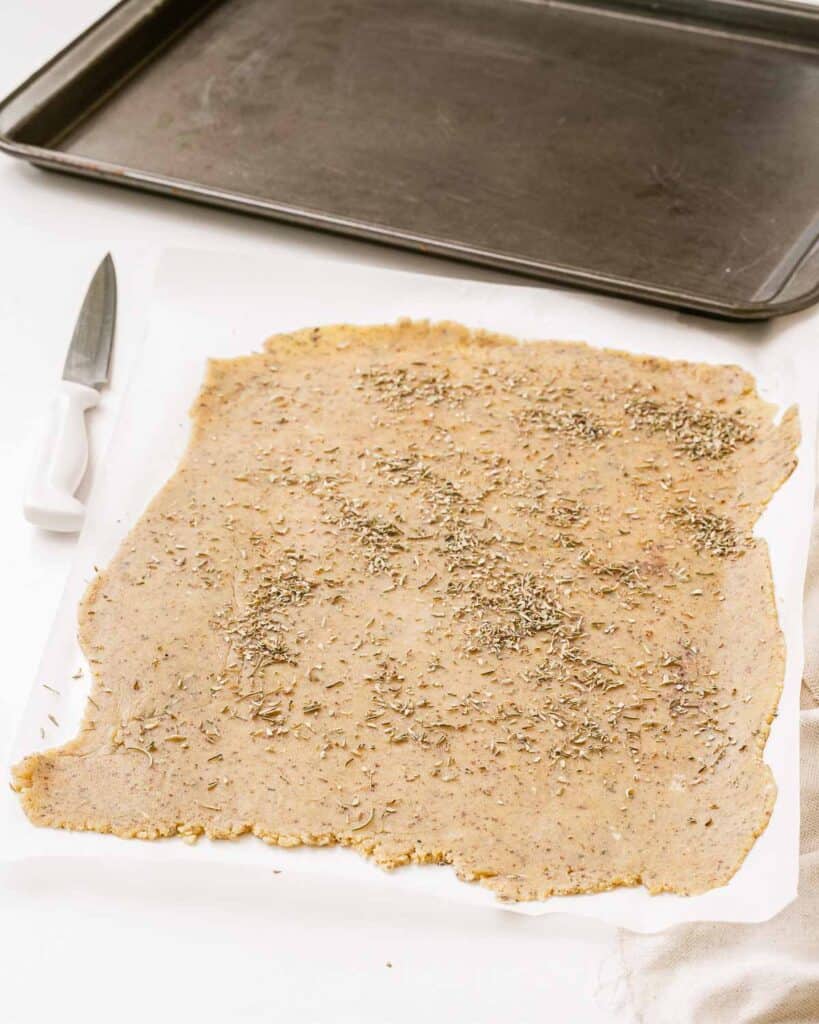
Pour your cracker dough onto a large piece of parchment paper. Place another large piece of parchment paper on top to stop the dough from sticking to your rolling pin.
Roll the dough out until it’s about ¼ inch thick, applying even pressure to ensure consistent thickness throughout. I always use my wooden rolling pin with smooth handles, which gives me better control and makes it easier to roll dough evenly.
Add Extra Seasoning and Cut Into Shapes
Sprinkle a little extra oregano, fresh rosemary, or smoked paprika on top of the dough for added flavor and visual appeal. You can also lightly brush the surface with olive oil before adding herbs for extra richness.
Cut the dough into cracker shapes using a knife or pizza cutter, or use a cookie cutter for fun shapes. This pizza cutter makes quick work of cutting the dough into uniform squares without dragging or tearing.
The dough yields about 30 crackers when cut into small squares. Once you cut out the crackers, separate them slightly so they don’t stick together while baking.
Bake Until Golden
Transfer the crackers onto a parchment-lined baking sheet or a large baking sheet. I use a rimmed baking sheet with even heat distribution to help the crackers bake uniformly without burnt edges.
Bake the crackers for 10-15 minutes, or until they turn golden brown and feel crisp when touched. Keep an eye on them during the last few minutes because they can go from golden to too dark quickly.
Cool and Serve
Let the crackers cool completely on the baking tray before serving, as they’ll continue to crisp up. These homemade gluten-free crackers are perfect vegan crackers for any occasion, and they taste nutty and herbaceous, with a satisfying snap.
Serve them with your favorite dips, such as hummus, guacamole, or vegan cheese spreads, or enjoy them on their own as a snack.
These crackers travel really well to potlucks, picnics, or parties because they’re sturdy and won’t get soggy. Layer them in an airtight container, placing parchment paper between layers to prevent breakage during transport.
A portable food storage container with secure lids keeps them protected and makes it easy to pack dips alongside them. If you’re bringing them to an outdoor event, they hold up perfectly at room temperature for several hours without losing their crispness.
Ingredients
- 2 cups almond flour
- 1 flax egg 1 tablespoon flaxseed meal + 2 tablespoons water, let sit 5 minutes
- 1 teaspoon garlic powder
- 1 teaspoon dried oregano optional extra for sprinkling on top
- 3 tablespoons water
- 1 tablespoon nutritional yeast
- 1 teaspoon salt
Instructions
- Preheat oven to 375F / 190C
- Make your flaxseed egg by mixing together the flaxseed meal & water. Let it sit for a few minutes.
- Add all of the ingredients to a big bowl and mix together well until an even dough is formed.
- Pour your dough mixture out onto a large piece of parchment paper. Then add another large piece on top (to stop it from sticking to your rolling pin.
- Roll the mixture flat with your rolling pin, until it’s around a ¼ inch thick.
- Optional: Sprinkle a little extra oregano on top of the dough.
- Cut the dough into cracker shapes. The dough yields around 30 crackers if cut into small squares as shown.
- Once cut, separate the crackers a little so that they won’t stick to each other once cooked.
- Transfer the crackers with the parchment paper onto a baking tray.
- Bake them for 10-15 minutes or until they are a little golden.
Notes
- Roll evenly: Use even pressure when rolling to achieve consistent thickness throughout, so all the crackers bake at the same rate without some being too soft and others too crispy.
- Don’t skip the flax egg rest time: Letting the flaxseed meal and water sit for 5 minutes allows it to thicken properly, giving the crackers better structure and helping them hold together during rolling and baking.
- Watch the bake time closely: check the crackers at 10 minutes, as ovens vary, and they can go from golden to burnt quickly, especially around the edges.
- Separate crackers before baking: Gently pull the cut crackers apart on the parchment paper so they don’t fuse together in the oven, making them easier to break apart and serve.
- Customize the seasonings: Swap the oregano for rosemary, thyme, or za’atar to change the flavor profile, or add a pinch of red pepper flakes for a spicy kick.
- Flash-freeze for storage: Freeze crackers in a single layer on a baking sheet for 30 minutes, then transfer them to a container so they don’t stick together and break when you pull them out later.
Nutrition
How to Store Leftovers
Store your crackers in an airtight container at room temp for up to 5 days. A set of airtight food storage containers keeps them fresh and crispy between snacking sessions.
If they soften slightly, you can crisp them back up by putting them in a 300F oven for 3-5 minutes. For longer storage, freeze them in a freezer-safe bag or container for up to 2 months, then thaw at room temp for 10-15 minutes before eating.
What to Serve With Vegan Gluten-Free Crackers
Serve them with hummus, baba ganoush, or guacamole for an easy appetizer spread. They’re also great with vegan cheese, cashew cream cheese, or artichoke dip if you’re looking for something richer.
Pair them with fresh veggies like cherry tomatoes, cucumber slices, and bell pepper strips for a lighter snack board. They also work well alongside soups and salads when you want something crunchy to round out the meal.
More Easy Recipes for You to Try at Home
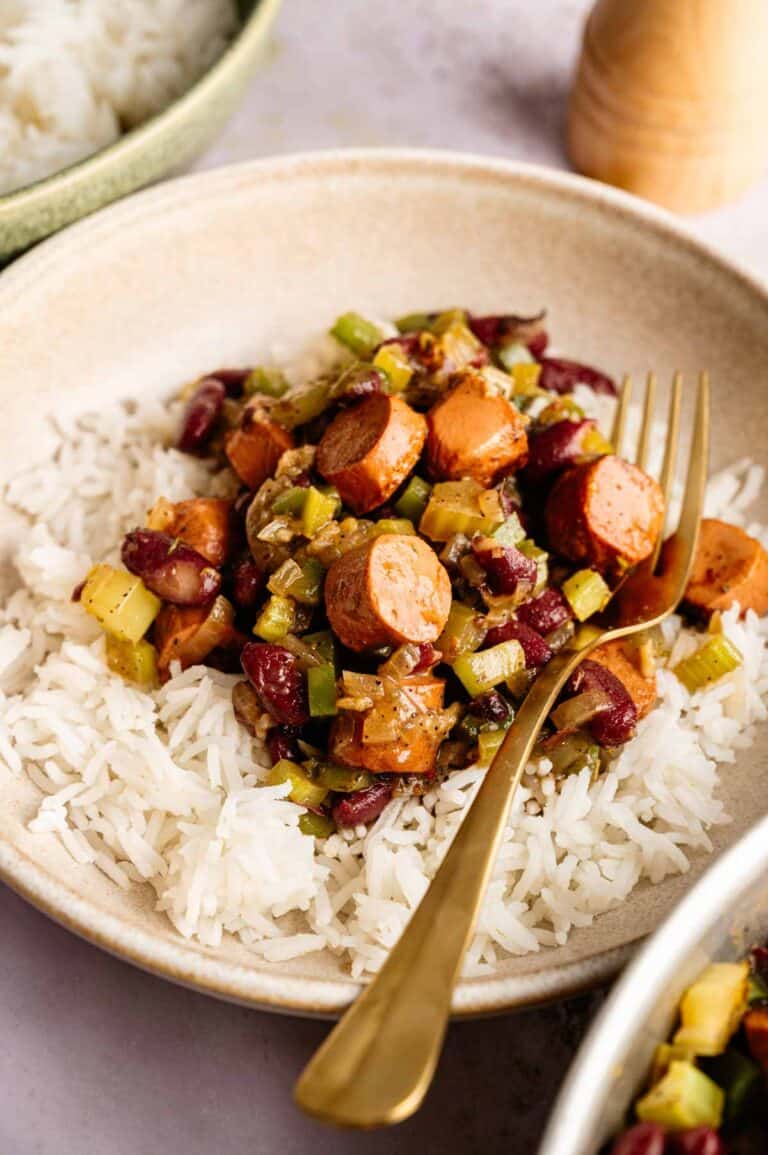
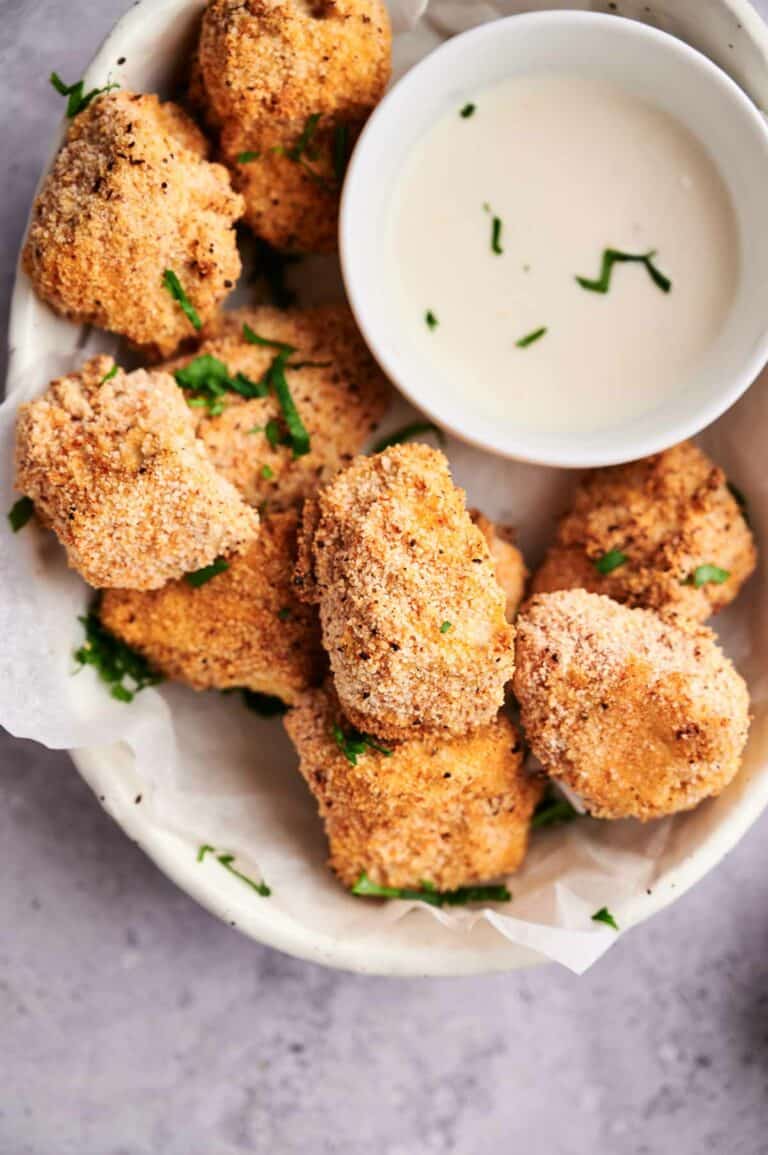
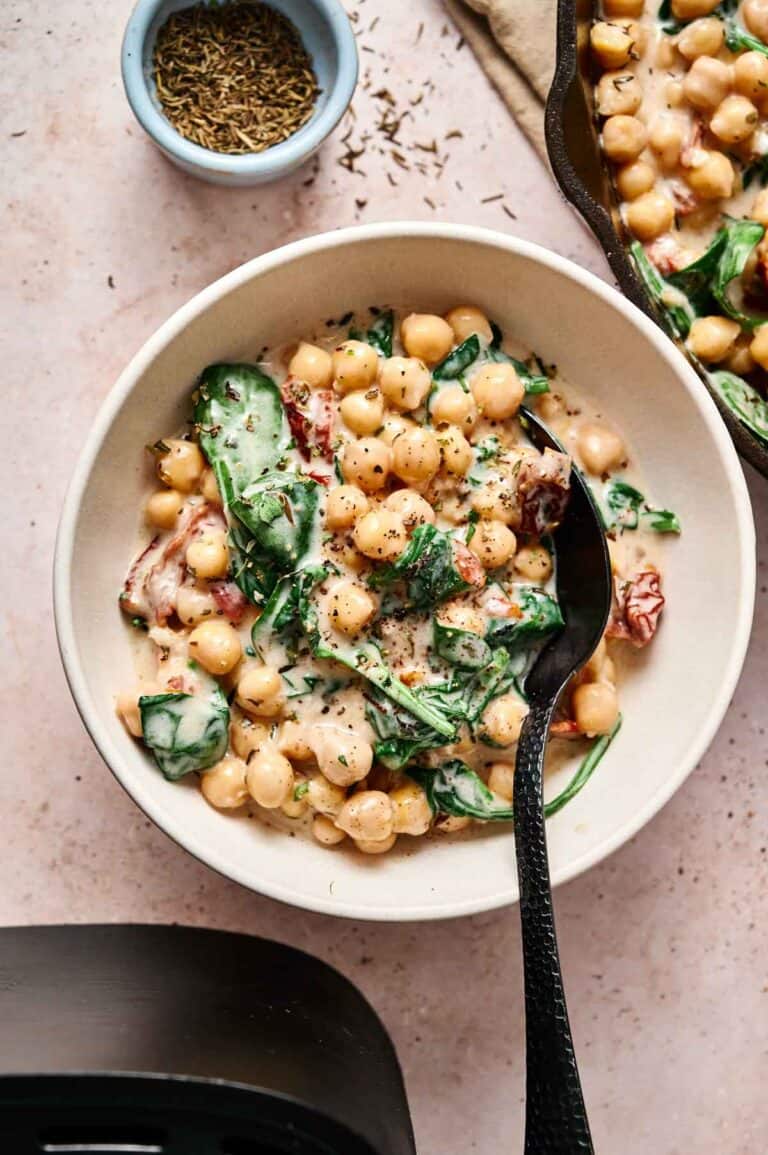
If you love these, you’ll want to try my other vegan snacks.


These were so good! Even my toddler loved them. My husband was impressed that I made them!
Kudos to you for impressing your husband Liz! I’m happy to hear your whole family loved them!