Vegan Chocolate Peanut Butter Cups

Vegan Chocolate Peanut Butter Cups are one of those recipes I make on repeat because I actually prefer them to store-bought versions. The dark chocolate shell is rich and glossy, while the creamy filling stays smooth and sweet inside. Maple syrup and vanilla add depth and make each bite taste even better. They’re ridiculously easy to make, and they disappear fast.

This post contains affiliate links. As an Amazon Affiliate, if you purchase through those links, I earn a commission. Thank you!
I make them for holiday cookie trays, Valentine’s Day treats, and birthday parties because they look like you spent hours on them. They’re also great for meal prep since you can grab one from the fridge whenever you need a quick sweet fix. They’ll stay fresh in the fridge for up to 10 days, so you can make a batch on Sunday and enjoy them all week.
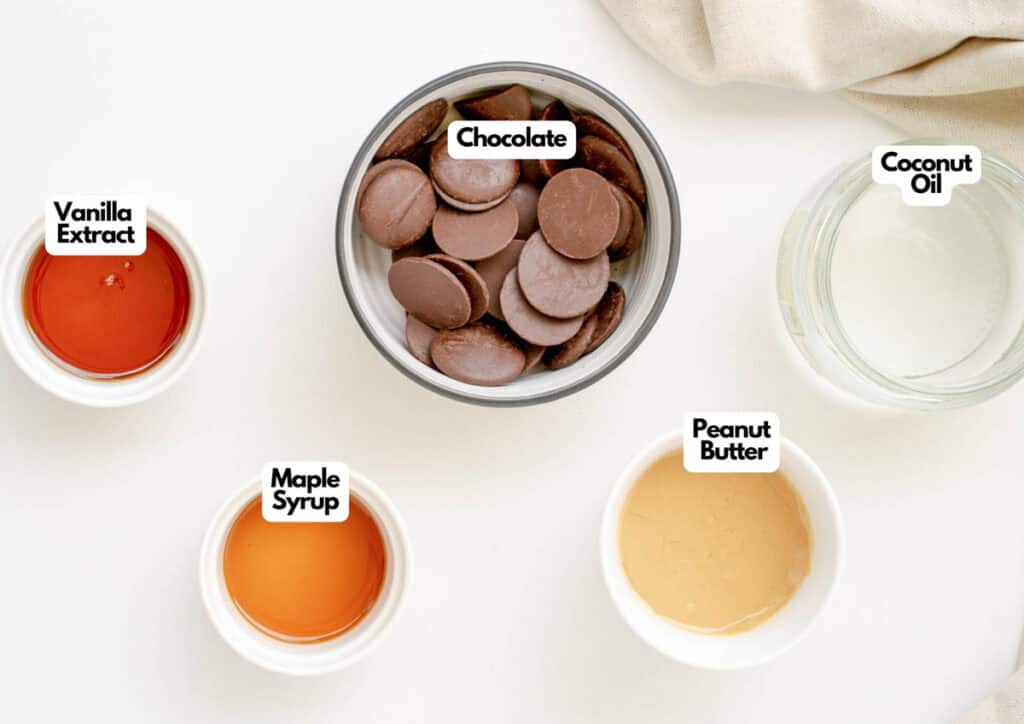
Ingredients You’ll Need
You’ll need all the ingredients shown in the photograph below.
How to Make Vegan Chocolate Peanut Butter Cups with Step-By-Step Instructions
Scroll down for the full recipe card containing a full printable recipe and measurements in both US customary and metric units.
Making homemade peanut butter cups is way easier than you’d think, and you’ll have a batch ready in less than an hour.
Melt the Chocolate
Combine the dark chocolate and 1 teaspoon of coconut oil in a heat-safe bowl. Microwave for 45 seconds, checking and stirring to avoid overheating. Dark chocolate chips or semi-sweet chocolate chips work great if you don’t have a chocolate bar.
If you prefer, you can melt them slowly in a double boiler or a small saucepan on the stove instead, which gives you more control over the temperature and prevents burning.
Create the First Chocolate Layer
Spoon about ½ tablespoon of melted chocolate mixture into each of your 12 silicone molds. You want a thin layer that’ll create the base of each cup. These silicone molds make it super easy to pop the finished cups out without breaking them.
If you don’t have silicone molds, a mini muffin tin lined with cupcake liners works just as well.
Chill the Chocolate Base
Pop the tray into the refrigerator for 20 minutes or until the chocolate has completely hardened. You’ll know it’s ready when it looks matte and feels solid to the touch.
Make the Peanut Butter Filling
While the chocolate chills, combine peanut butter, the remaining teaspoon of coconut oil, vanilla extract, and maple syrup in a bowl until smooth and combined. Natural peanut butter, almond butter, or sunflower seed butter all work beautifully here.
The coconut oil helps keep the filling creamy, and the maple syrup adds just the right amount of sweetness without added sugar.
Add the Peanut Butter Layer
Spoon 1 teaspoon of the peanut butter mixture into each chocolate cup, right on top of the hardened chocolate base. Try to keep it centered so you’ll have even chocolate coverage on all sides.
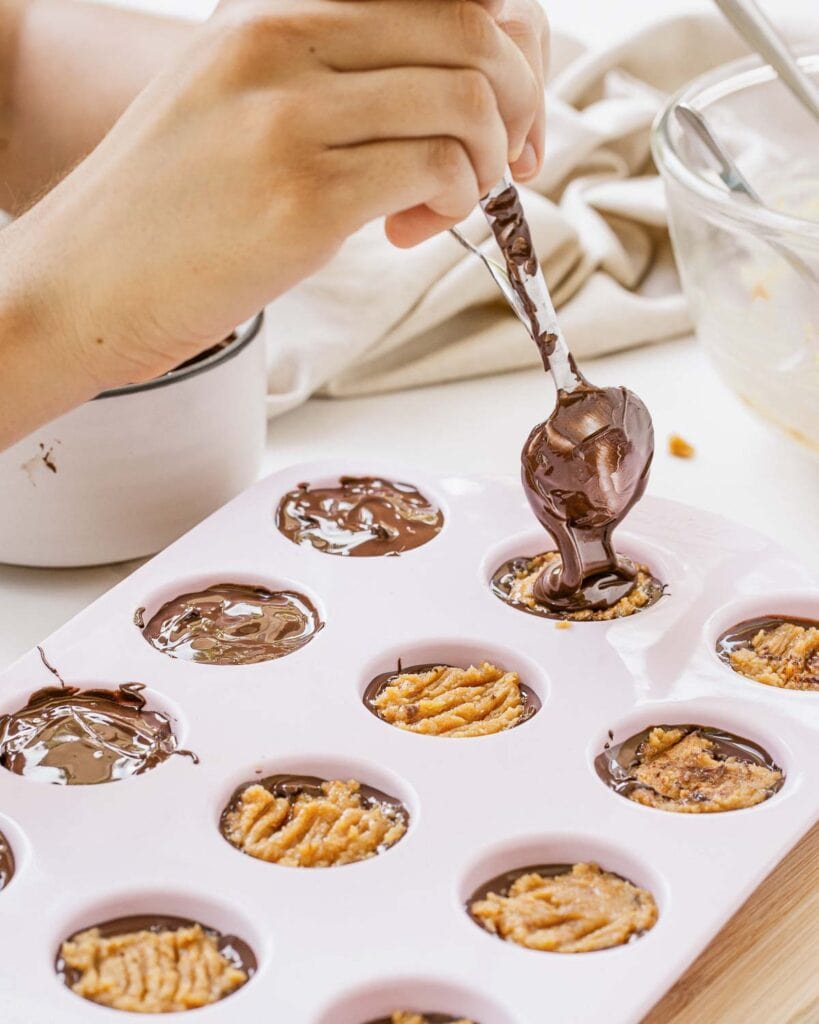
Seal With More Chocolate
Cover the peanut butter filling with the remaining chocolate, filling each mold to the top to create a level surface. You want just enough chocolate to seal each cup without overfilling.
If your chocolate has cooled and thickened, you can reheat it briefly in the microwave to get it flowing again. A glass mixing bowl is perfect for reheating chocolate without any risk of melting or warping.
Final Chill
Refrigerate for another 30 minutes or until the cups are firm enough to handle. Once they’re solid, you can pop them out of the molds and transfer them to a container for easy snacking.
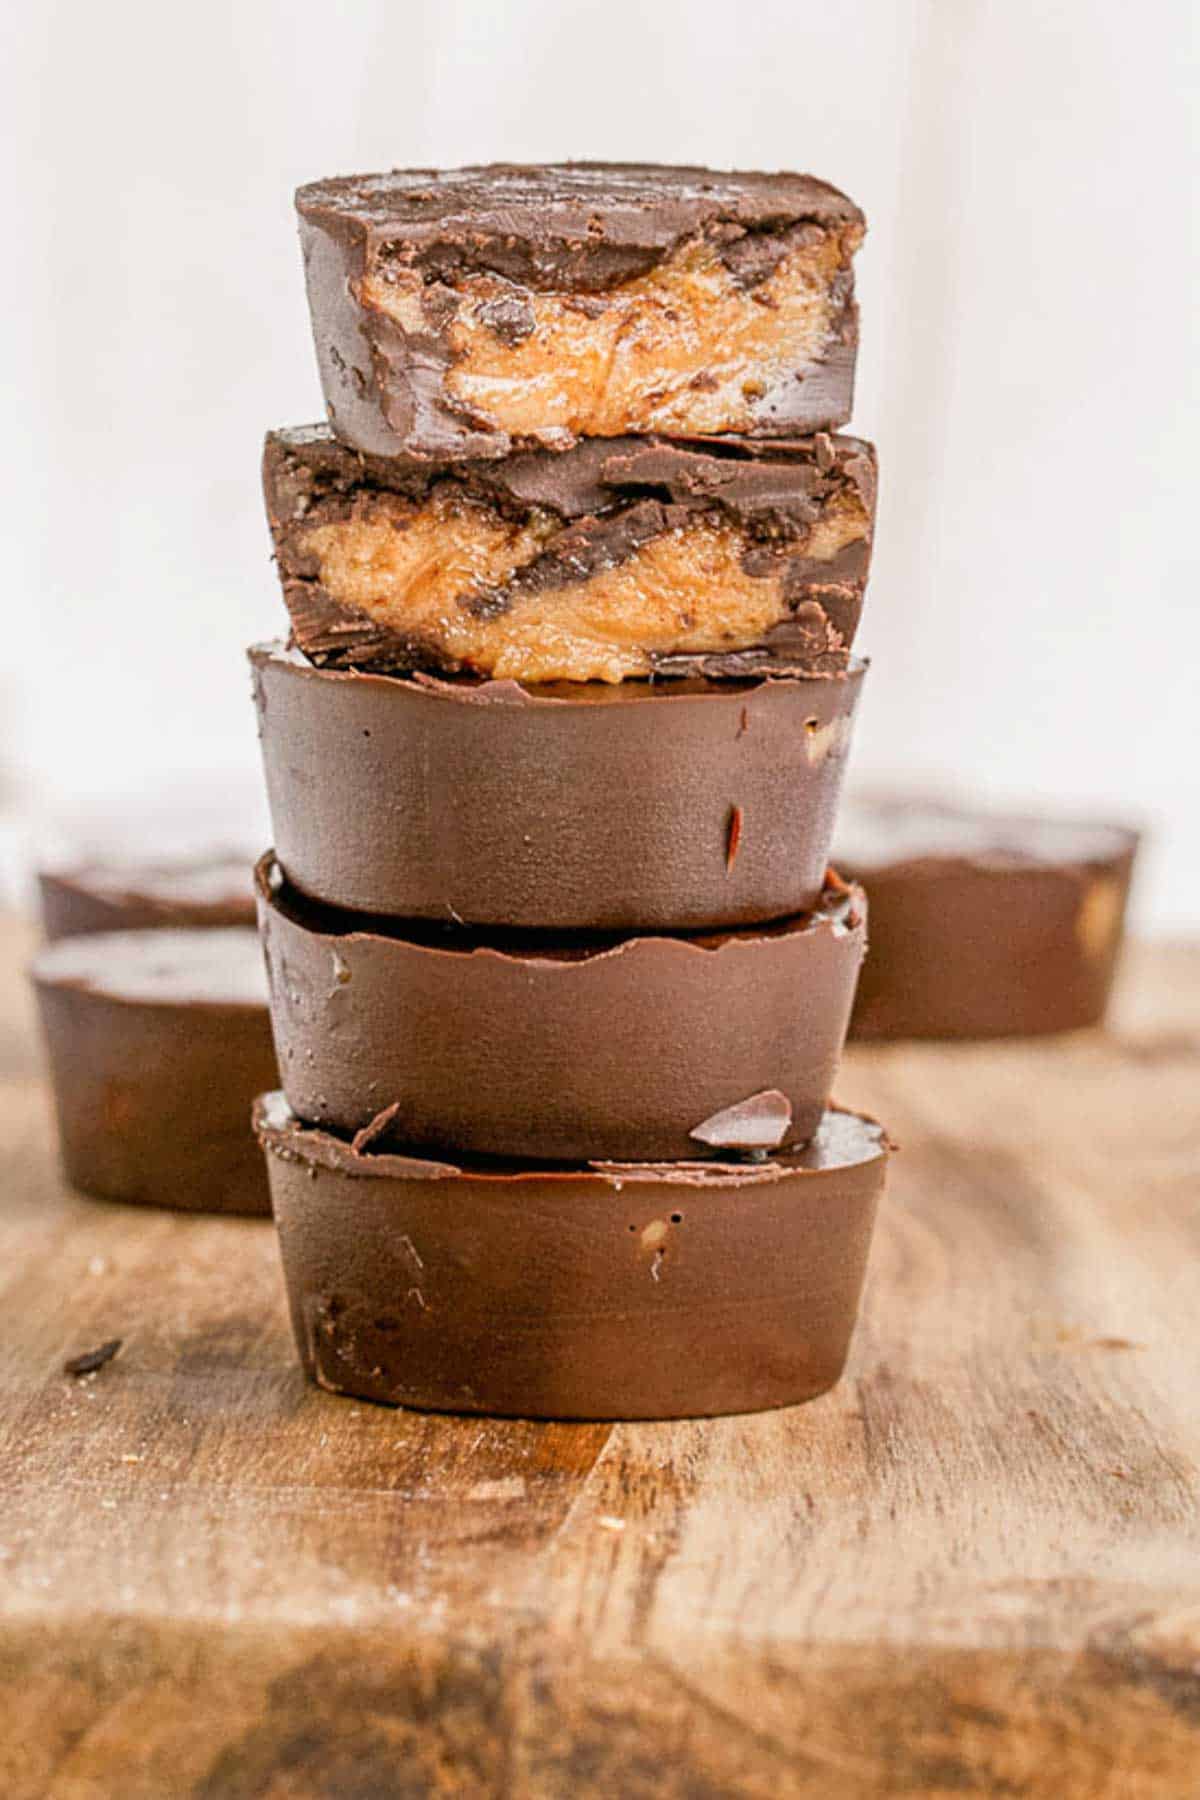
Serve and Enjoy
Keep your peanut butter cups chilled until you’re ready to serve them. These rival any classic peanut butter cup you’d buy at the store.
They taste best straight from the fridge when the chocolate is firm and snappy. Enjoy!
If you need to transport them, pack them in a single layer in an airtight container with parchment paper between each cup to prevent sticking. Keep them cool with an ice pack if you’re traveling more than 15 minutes, since the chocolate will soften in warm temperatures.
I like using an insulated casserole carrier to keep them perfectly chilled during transport so they arrive at your destination with that firm, snappy texture intact.
Ingredients
- ½ cup peanut butter
- 1 cup dark chocolate
- 1 teaspoon coconut oil
- 1 teaspoon vanilla extract
- 1 tablespoon maple syrup
- ½ teaspoon salt
Instructions
- Melt the dark chocolate and 1 tsp of coconut oil in a microwave for 45 seconds, or slowly on the stove in a double boiler. Be careful not to boil it!
- Place ½ tbsp of melted chocolate into each of your 12 small silicone molds.
- Pop the tray into the refrigerator for 20 minutes or until the chocolate has hardened up.
- While the chocolate is cooling you can make the peanut butter filling. Mix the peanut butter, remaining coconut oil, vanilla extract and maple syrup until combined.
- Add 1 tsp of the peanut filling to each chocolate cup.
- Cover your peanut butter filling with melted chocolate, to the top of the mold – or enough to create a level top.
- Refrigerate for half an hour or until the peanut butter cups are hard enough to transfer to a plate.
- Keep them in the fridge for up to 10 days.
Notes
- Use quality chocolate: Pick a dark chocolate you’d actually enjoy eating on its own since it’s the main flavor here. Chocolate chips work fine, but a good chocolate bar melts more smoothly.
- Don’t overheat the chocolate: Stop microwaving as soon as it’s mostly melted and stir to finish melting the remaining bits. Overheated chocolate gets grainy and clumpy.
- Keep the filling centered: When you add the peanut butter layer, try to keep it in the middle of each cup so the chocolate can seal evenly around the edges.
- Let them set completely: Give the cups enough time to harden in the fridge before you try to remove them from the molds, or they’ll fall apart.
- Flash freeze first: Freeze the peanut butter cups on a baking sheet for 30 minutes before transferring them to a container so they don’t stick together or lose their shape.
- Make them nut-free: Swap peanut butter for sunflower seed butter or tahini. The texture and flavor will be slightly different but still delicious.
Nutrition
How to Store Leftover Vegans
Keep your peanut butter cups in an airtight container in the fridge for up to 10 days. A glass food storage container keeps them fresh and makes it easy to see how many you have left.
They need to stay cold, or the chocolate will soften, and the peanut butter filling will get too loose. I like stacking them with pieces of parchment paper between layers so they don’t stick together.
You can also freeze them for up to 2 months if you want to make a big batch ahead of time. Just place them in a freezer-safe container and let them thaw in the fridge for about 30 minutes before eating. They’ll taste just as good as freshly made.
What to Serve With Vegan Chocolate Peanut Butter Cups
I usually serve them as a standalone dessert or alongside fresh berries and a cup of coffee for an afternoon treat. They’re rich enough that you don’t need much else, but they pair really well with vegan ice cream or a glass of cold almond milk. You could even crumble them over ice cream like you would with Reese’s peanut butter cups.
You can also add them to dessert boards with other vegan recipes like brownies, cookies, or fruit, for parties and potlucks. They’re the perfect bite-sized treat that people can grab without needing a plate or fork.
More Easy Recipes for You to Try at Home
I bet you’ll love these other vegan chocolate desserts that are just as perfect for gift-giving and celebrations.