Print Recipe
Pin Recipe
[btn-google-source]
Servings: 12 slices
Calories: 332kcal
Ingredients
- 2 cups grated dark vegan chocolate
- 1 ½ cups crushed vegan cookies
- ¼ cup soy milk
- 3 tablespoons vegetable oil
- 1 teaspoon coffee powder
- Pinch of salt optional
Instructions
- Break up your vegan cookies/biscuits into chunks. You don’t want them to turn to powder, so it’s best to do this by hand.
- Pop them onto a dry cloth, fold the cloth around the cookies, and and crush them by applying pressure with your hands.
- Put the cookies aside, and move onto the chocolate mixture.
- Melt your dark chocolate over low heat using a double boiler, so that it doesn’t burn.
- Once the chocolate has melted, remove it from the heat and add your soy milk (or any plant-based milk you like), and the vegetable oil, coffee powder, and a pinch of salt. Mix it well to combine.
- Then fold in the broken cookies/biscuits.
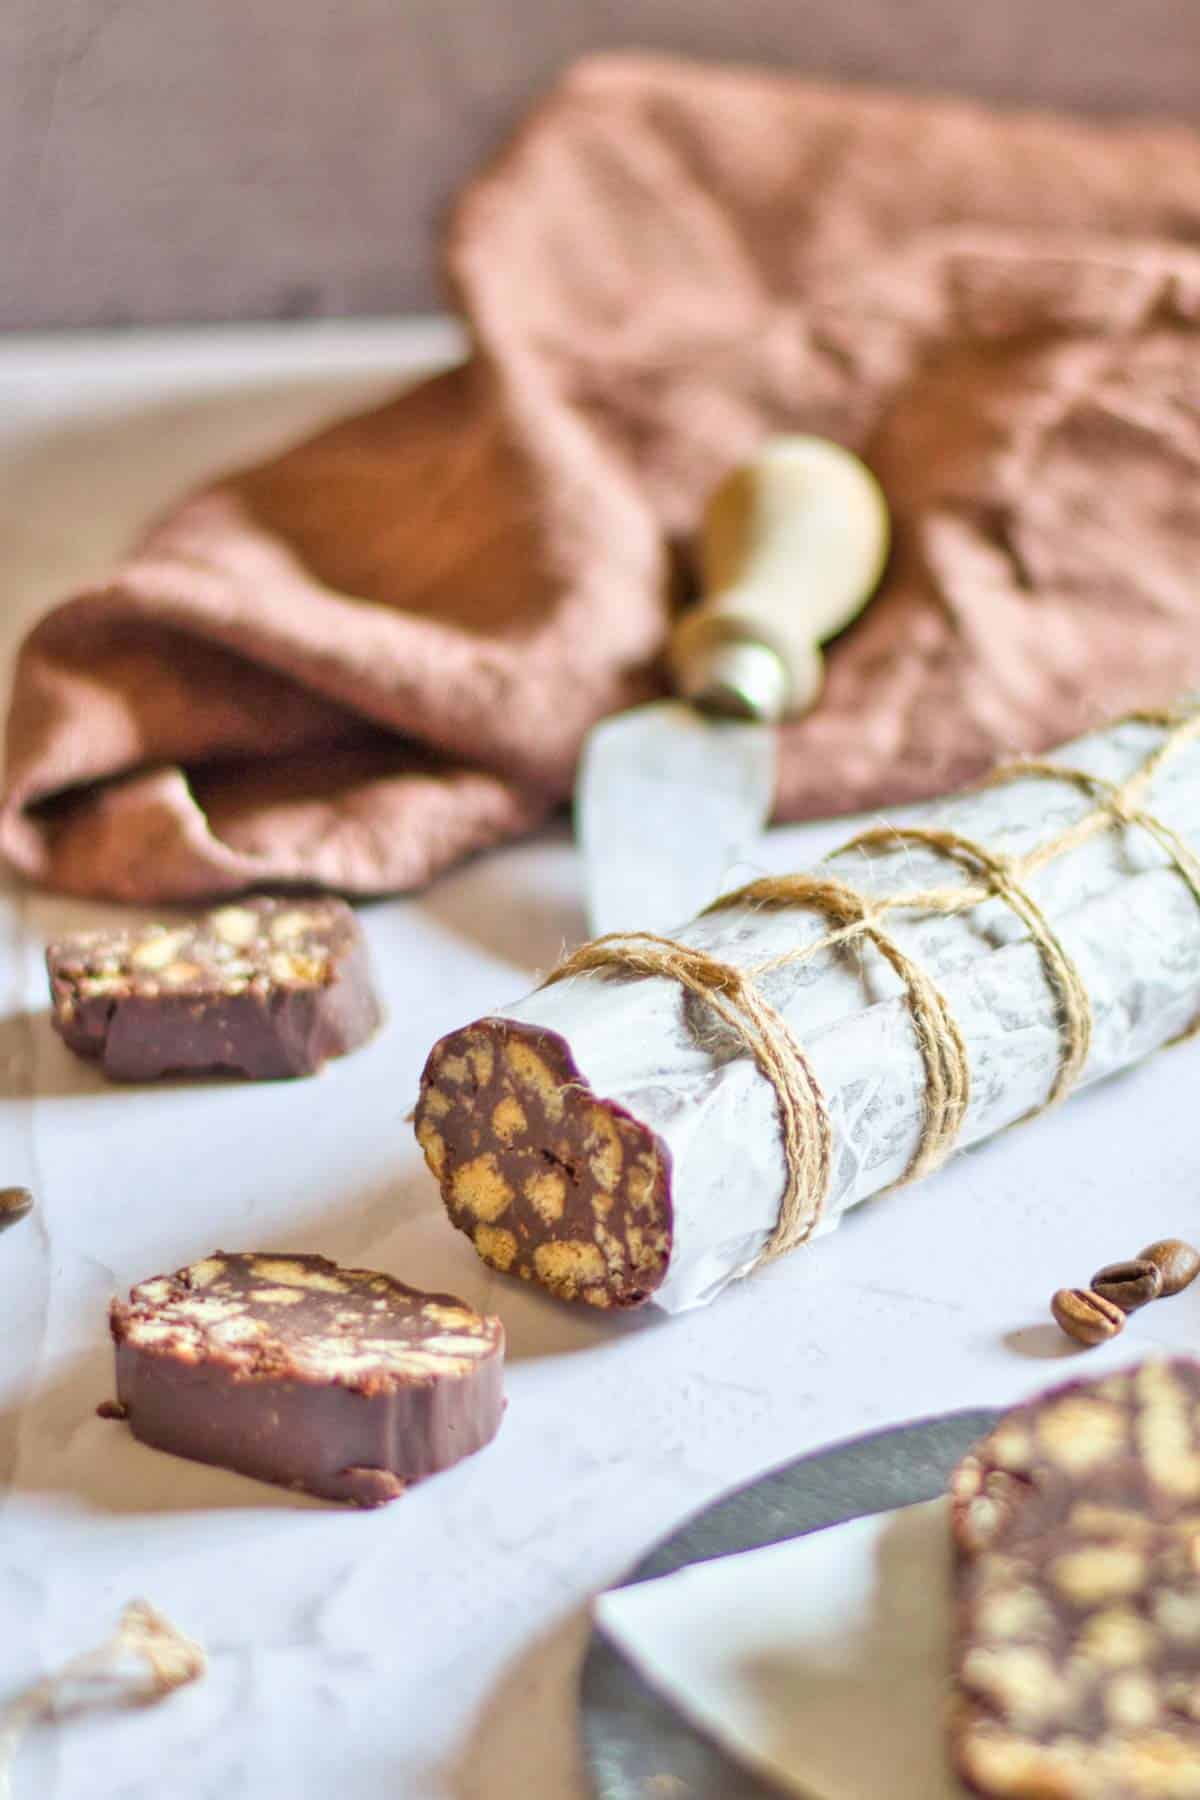
- Before the chocolate mixture has had a chance to cool, pour it out onto a sheet of baking paper, and roll it with your hands into a log shape.
- You can twist the paper at the ends, like a candy bar. Then let it set in the freezer for at least 3 hours.
- Once it has hardened, take it out of the freezer, and remove the baking paper (at this point, you can roll it in icing sugar if you like).
- Serve the chocolate salami in slices, just like a real salami.
Notes
I've made this dessert dozens of times, and these tips will help you get the best results.
- Use good-quality dark chocolate: The chocolate is the star here, so pick one you actually like eating on its own because the flavor will shine through.
- Don't crush the cookies too fine: You want chunks and pieces, not powder, so the texture stays interesting in every slice.
- Work quickly after mixing: The chocolate starts to firm up as it cools, so shape the log right away while the mixture is still pliable and easy to roll.
- Freeze on a flat surface: Make sure the log sits flat in the freezer so it doesn't roll around and lose its shape while it sets.
- Slice with a sharp knife: A sharp chef's knife will give you clean slices without crushing the log, and you can wipe the blade between cuts for the neatest presentation.
- Flash-freeze slices for gifting: If you want to give away individual slices, freeze them on a baking sheet for 30 minutes first, then wrap them individually so they don't stick together.
Nutrition
Calories: 332kcal | Carbohydrates: 37g | Protein: 3g | Fat: 21g | Saturated Fat: 9g | Polyunsaturated Fat: 5g | Monounsaturated Fat: 6g | Trans Fat: 0.02g | Sodium: 112mg | Potassium: 120mg | Fiber: 2g | Sugar: 22g | Vitamin A: 45IU | Vitamin C: 0.4mg | Calcium: 18mg | Iron: 2mg
Tried this recipe?Let us know how it was!