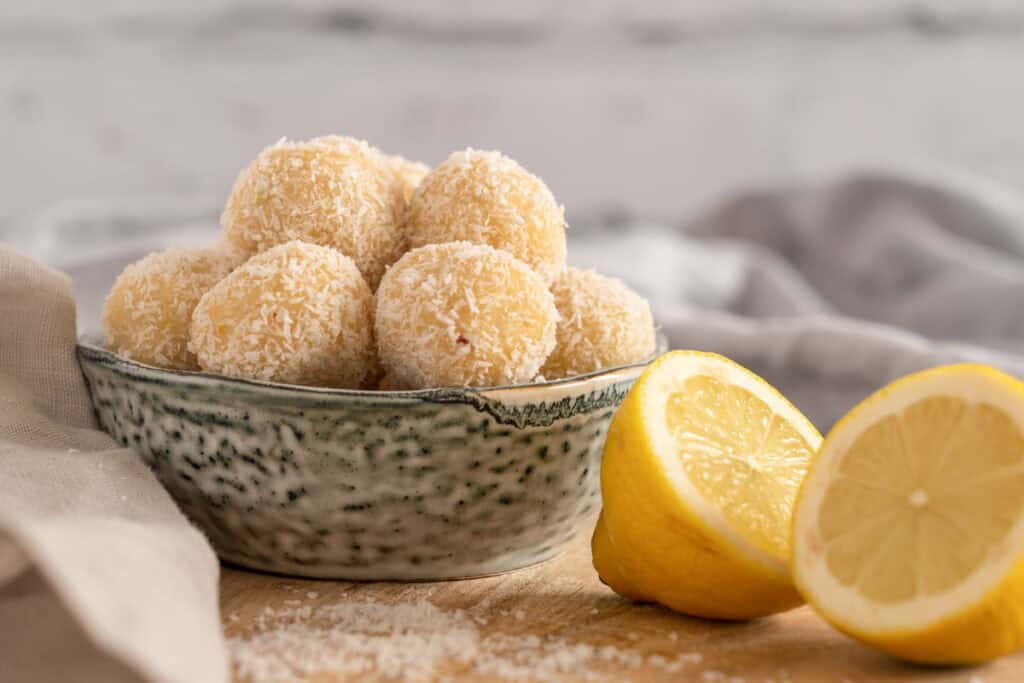
Lemon Cheesecake Bliss Balls

I like keeping Lemon Cheesecake Bliss Balls in the fridge because they’re easy to grab when I want something sweet. Each bite is creamy and tangy with bright lemon flavor that tastes like real cheesecake. The coconut coating adds sweetness and texture, while the cashew center stays dense and rich. They’re cold, refreshing, and so good.
This post contains affiliate links. As an Amazon Affiliate, if you purchase through those links, I earn a commission. Thank you!
I make them for spring picnics, Easter gatherings, and weekend meal prep because they’re naturally energizing without being too sweet. They’re perfect for packing in lunchboxes, bringing to potlucks, or keeping on hand for afternoon snacks. They stay fresh in the fridge for about a week or in the freezer for up to 2 months.
Ingredients You’ll Need
You’ll need all the ingredients shown in the photograph below.

How to Make Lemon Cheesecake Bliss Balls with Step-By-Step Instructions
Scroll down for the full recipe card containing a full printable recipe and measurements in both US customary and metric units.
Making these bliss balls is quick and doesn’t require any baking, which makes them perfect for when you want something sweet but don’t want to turn on the oven.
Soak the Cashews
Start by soaking your cashews overnight in cold water, in a large bowl or if you’re short on time, cover them with hot water and let them sit for 15 minutes until softened. Soaking breaks down the cashews so they blend into a smooth, creamy base instead of staying grainy.
Blend the Ingredients
Drain the cashews and add them to your food processor along with the almond meal, desiccated coconut, coconut oil, lemon juice, lemon zest, maple syrup, and plant-based yogurt. I always use this food processor to make quick work of blending the cashews into a creamy texture.
If you want a more classic cheesecake flavor, add 1/2 teaspoon of vanilla extract to the food processor along with the other ingredients. Process everything for 2 to 3 minutes until the mixture comes together into a smooth, dough-like consistency that holds its shape when pressed. You want it sticky enough to roll but not so wet that it falls apart.
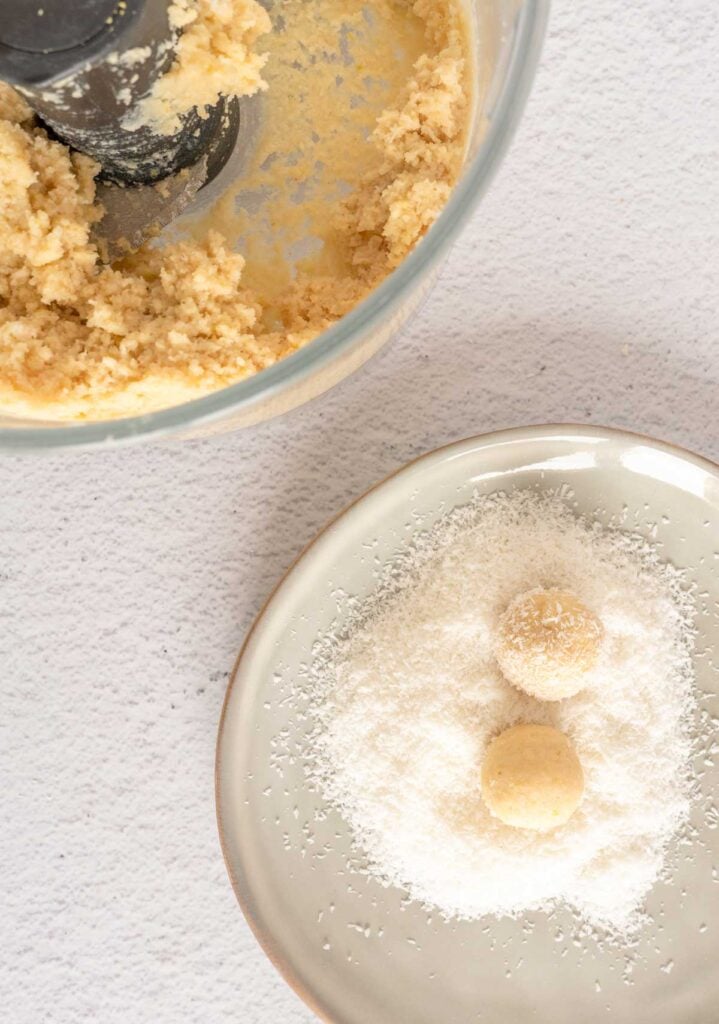
Roll Into Balls
Scoop out about a heaped teaspoon of the mixture and roll it between your palms to form a ball about 1 inch in diameter. A cookie scoop helps portion them evenly so they’re all the same size.
The warmth of your hands helps the mixture stick together, so don’t worry if it feels a bit soft at first. Repeat until you’ve used all the mixture, which should give you around 18 to 20 balls depending on size.
Coat With Coconut
Pour the remaining desiccated coconut into a shallow bowl or plate. Roll each ball in the coconut, pressing gently so the shreds stick to the surface and coat evenly. The coating adds texture and keeps the balls from sticking together when stored.
If you love coconut flavor, use extra coconut for rolling and press it on generously for a thicker coating.
Chill to Set
Arrange the coated balls on a plate or baking sheet lined with parchment paper or baking paper and place them in the refrigerator for at least 30 minutes to firm up. These pre-cut parchment paper sheets prevent sticking and make cleanup effortless.
The coconut oil and cashews need time to set so the balls hold their shape and develop that fudgy texture. For best results, chill them for an hour or longer.
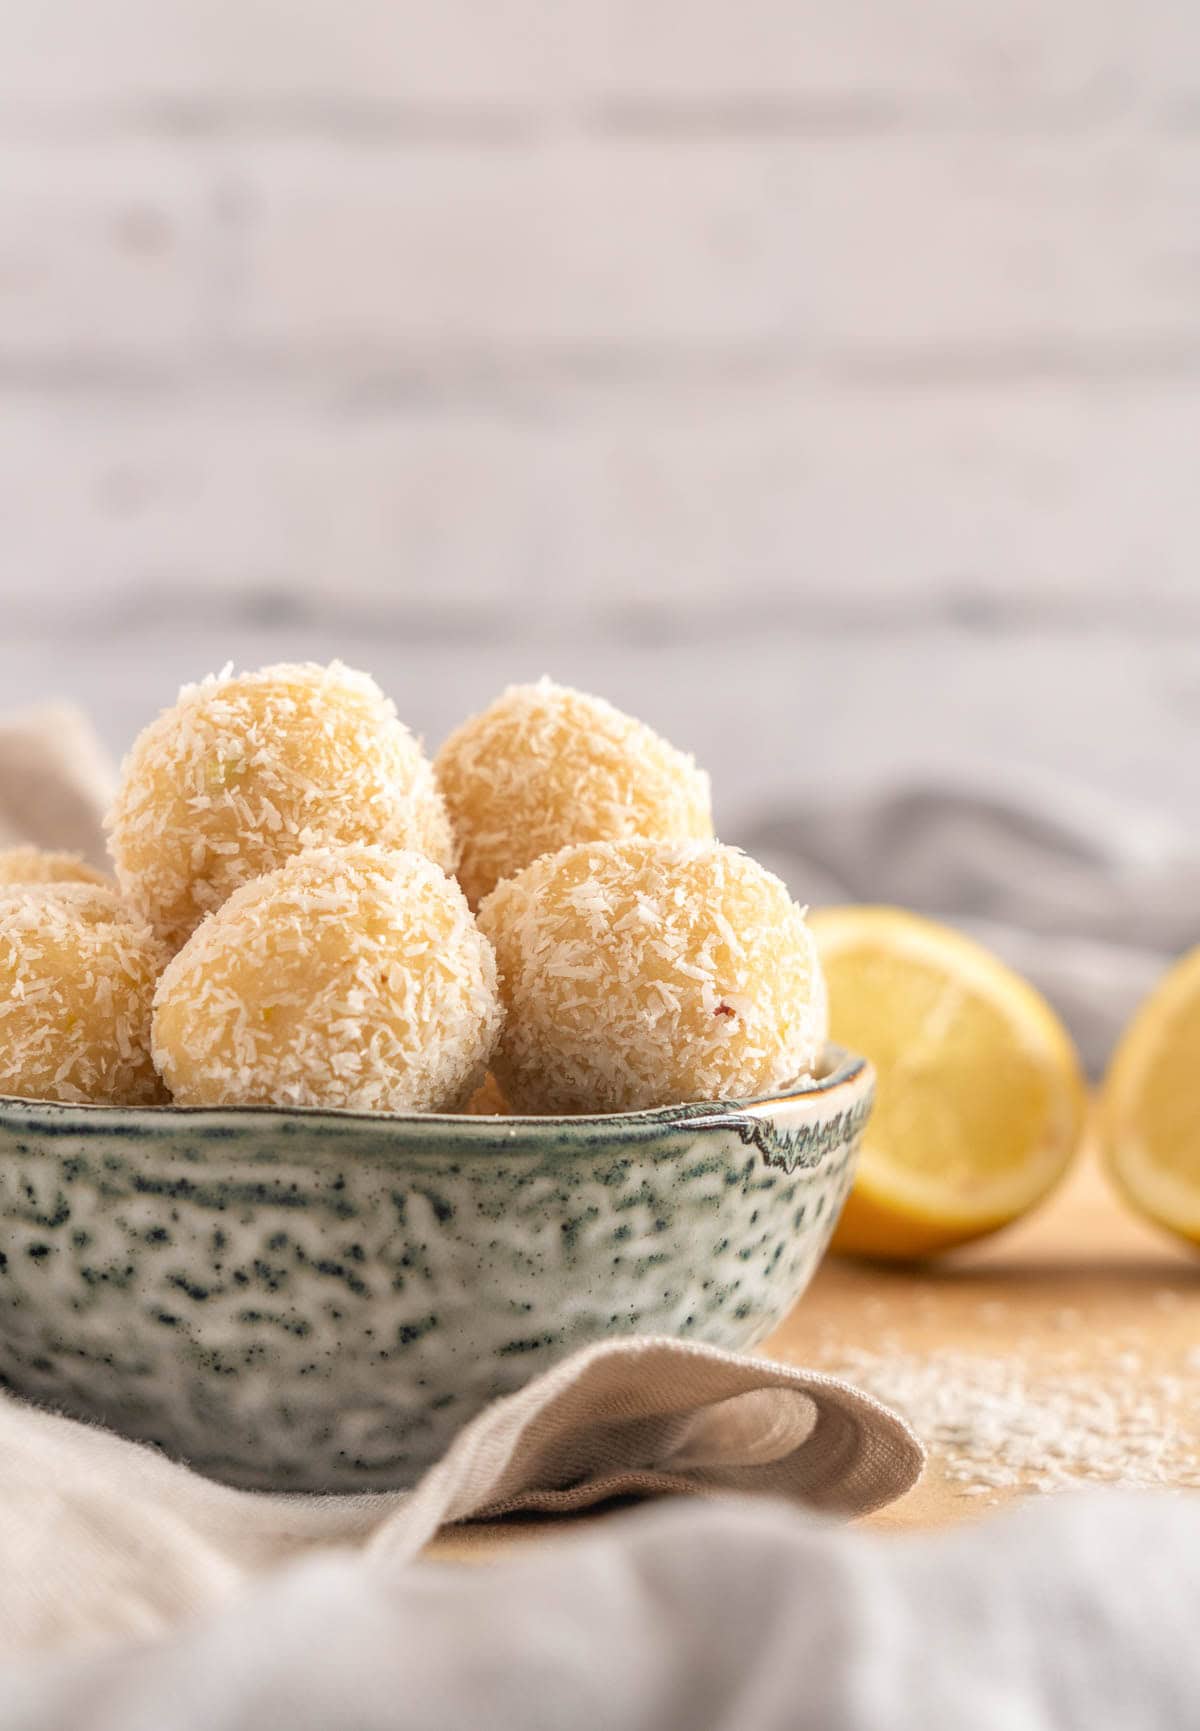
Serve
Transfer the chilled bliss balls to a serving plate or store them in an airtight container in the fridge until you’re ready to enjoy them. They’re best served cold when the texture is firm and the lemon flavor is bright. Enjoy!
These bliss balls travel beautifully to potlucks, picnics, and work lunches because they hold their shape and don’t require reheating. Pack them in a single layer in a this hard-sided sheet cake container with parchment paper between layers if stacking to prevent sticking.
If you’re heading somewhere warm or the drive is longer than 30 minutes, toss an ice pack in your bag to keep them chilled since the coconut oil can soften in heat. They’re perfect for outdoor gatherings, school snacks, and gifting because they stay fresh and portable.
Equipment
Ingredients
- 3/4 cup almond meal
- 3/4 cup desiccated coconut
- 1/2 cup cashews soaked (overnight or quickly in hot water)
- 2 tablespoons coconut oil
- Juice and zest of 1 large lemon or two small lemons 1/4 cup juice
- 2 tablespoons maple syrup more if you like it sweeter
- 3 tablespoons unsweetened plant-based yogurt I used greek style soy yogurt
- 1/3 cup desiccated coconut for rolling balls in.
Instructions
- Add all ingredients to a food processor and process until a smooth, dough-like consistency.
- Spoon out about a heaped teaspoon worth of mixture and roll between your hands to make a ball. Repeat.
- Roll balls in desiccated coconut to coat.
- Place in the refrigerator for at least 30 minutes to set. Preferably longer.
Notes
-
I’ve made these bliss balls dozens of times, so here are my best tips for getting them just right.
- Soak the cashews properly: If you skip the soaking or don’t soak them long enough, the mixture won’t blend smooth and you’ll end up with grainy balls instead of creamy ones.
- Use fresh lemon juice and zest: Bottled lemon juice doesn’t have the same bright, tangy flavor, and the zest adds natural oils that make the cheesecake flavor more authentic.
- Adjust sweetness to taste: Start with 2 tablespoons of maple syrup and taste the mixture before rolling. If you want them sweeter, add another tablespoon and pulse again.
- Chill before serving: The coconut oil needs time to solidify in the fridge, so don’t skip the chilling step or they’ll be too soft and won’t hold their shape.
- Press coconut coating firmly: When rolling the balls in desiccated coconut, press gently so the shreds stick well and create an even coating that won’t fall off when you handle them.
- Flash freeze for storage: Freeze the bliss balls on a baking sheet for 1 hour before transferring to a container so they don’t stick together and you can grab just one or two at a time.
Nutrition
How to Store Leftovers
Keep the bliss balls in an airtight container in the fridge for up to a week, separating layers with parchment paper if you’re stacking them so they don’t stick together. A set of glass storage containers keeps them fresh and makes it easy to grab one whenever you want a snack.
The texture stays firm and fudgy, and the lemon flavor actually gets brighter after a day or two as the ingredients meld. For longer storage, freeze them in a freezer-safe container for up to 2 months. Let them thaw in the fridge for a few hours or eat them straight from the freezer for a firmer, almost frozen-treat texture.
What to Serve With Lemon Cheesecake Bliss Balls
They’re delicious with a cup of herbal tea like chamomile or mint, or paired with a cold glass of almond milk for an afternoon pick-me-up. They also work beautifully on a dessert plate with fresh berries like strawberries, blueberries, or raspberries for a light, refreshing spread.
I like serving them on a platter with other no-bake treats like energy bites, date balls, or raw brownies when I’m hosting casual gatherings or putting together a snack board. For chocolate lovers, drizzle melted vegan dark chocolate over the top before chilling for extra richness and flavor.
More Easy Recipes for You to Try at Home
I think you’ll love these other easy vegan treats too.